If you plan to update or redeploy your subgraph in the future, create and use a tag before you start querying the endpoint.
Tags let you hot-swap new deployments under the same URL later without changing your front-end code.
Prerequisite
Getting started
- Log in to Ormi and go to your dashboard.
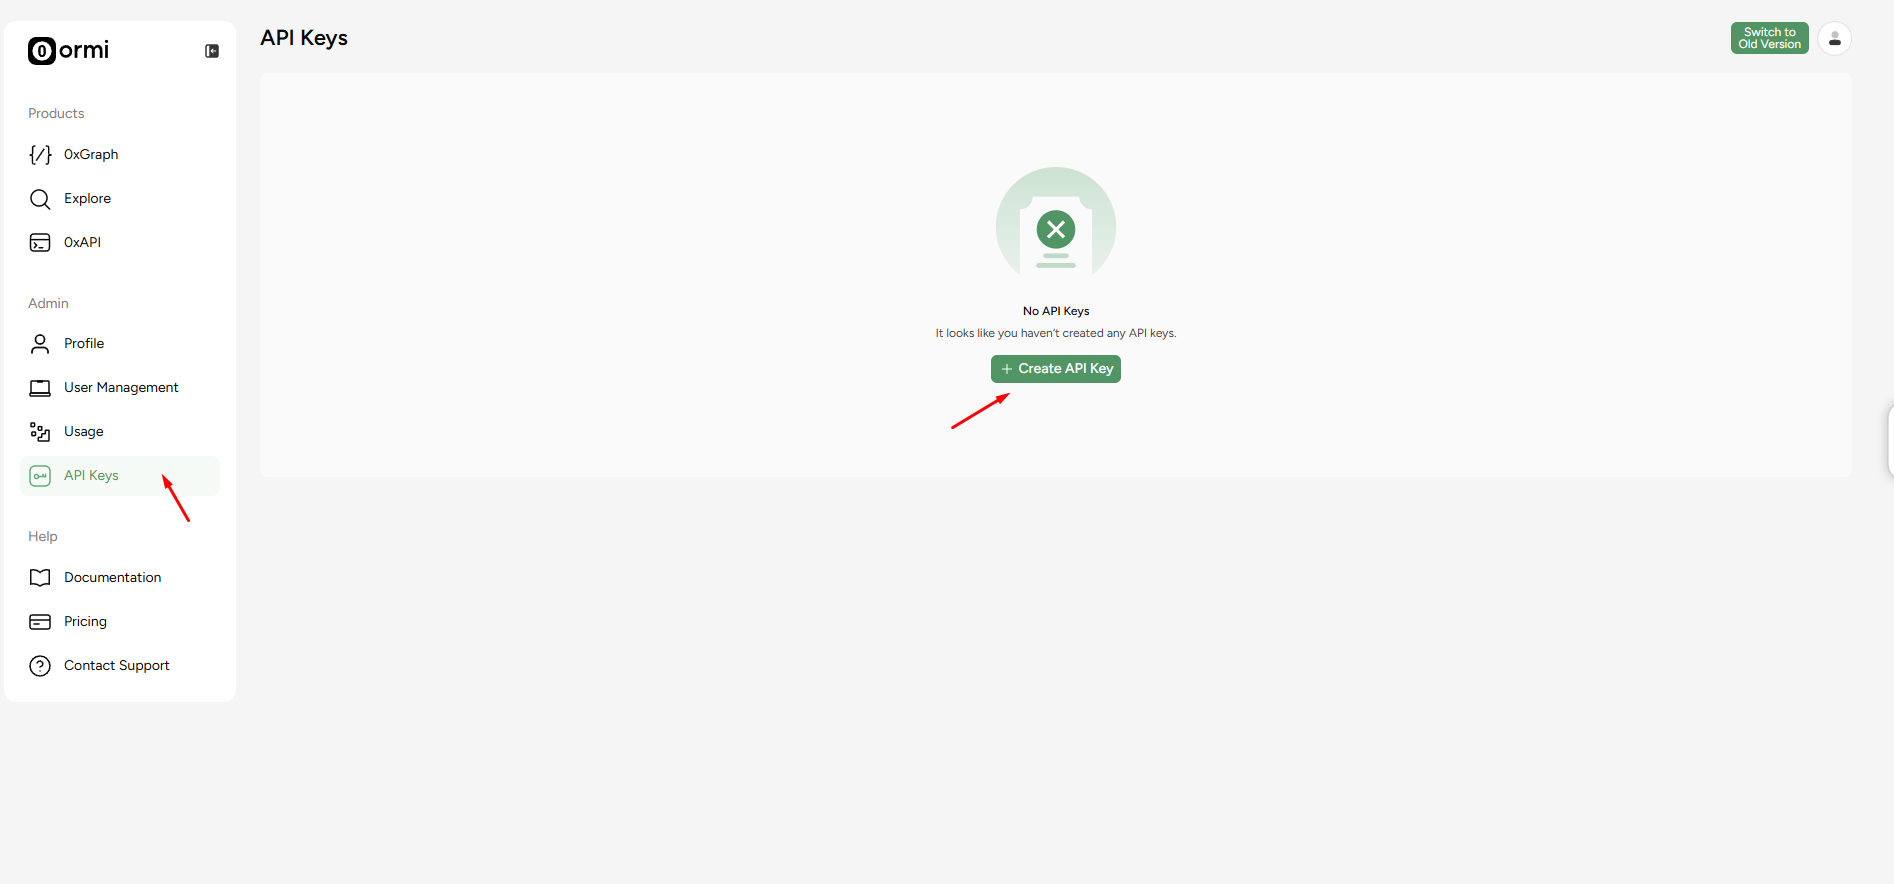
- From the dashboard, create an API key.
Install Graph CLI
On your local machine, run the following in your terminal:Create a directory for your subgraph
Initialize Node project
Run bash in the directory folderInstall dependencies
Create the required files
You will need:- subgraph.yaml
- schema.graphql
- mappings/blocks.ts
- abis/Dummy.json
subgraph.yaml
Dummy.json is required because every data source must include at least one ABI, even if unused. Just put [] inside it.
schema.graphql
Mapping files in typescript
Directory layout
node_modules/ after installing dependencies - that’s expected.
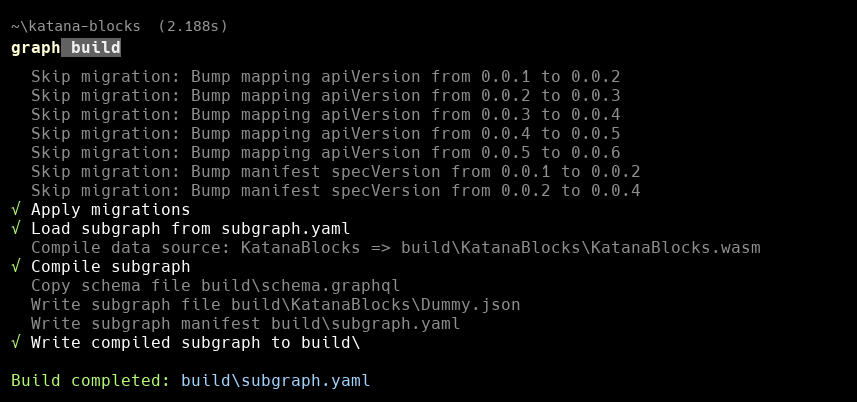
Build the subgraph
Generate types: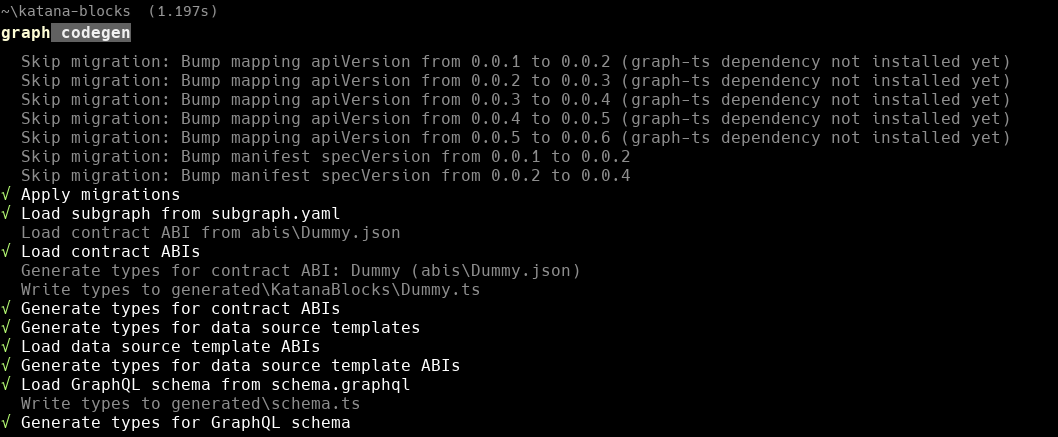
Deploy the Subgraph to Ormi 0xGraph
Return to your API key from the dashboard. Replacegraph-name and API key with your actual values
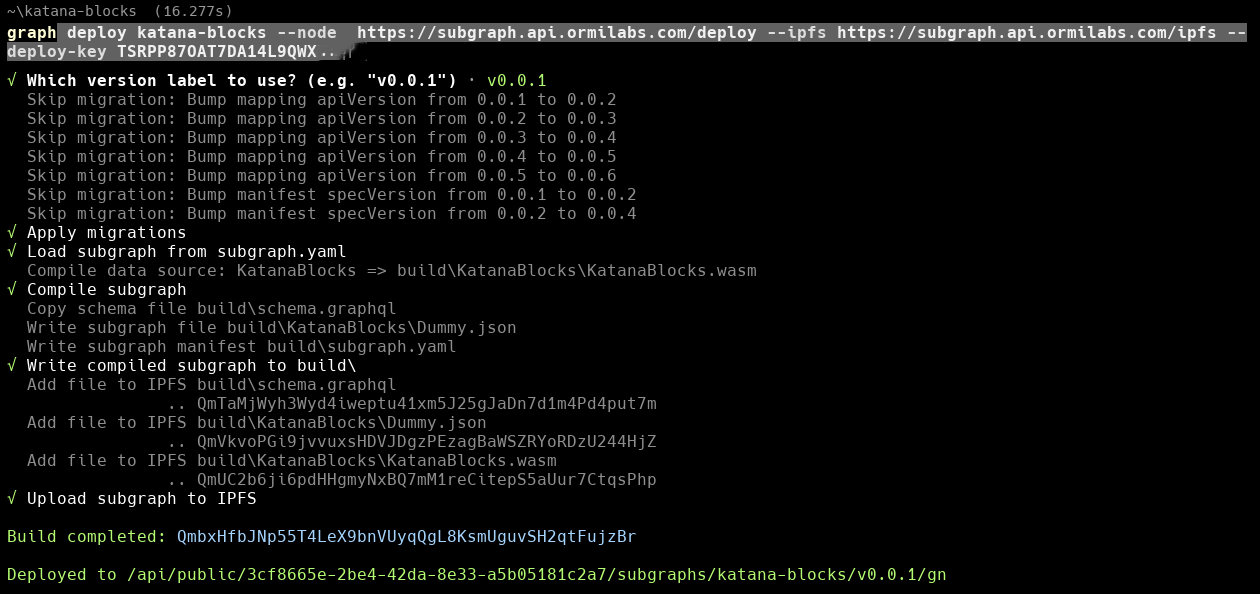
Track sync status
You can check syncing in the dashboard by going to the Subgraphs tab: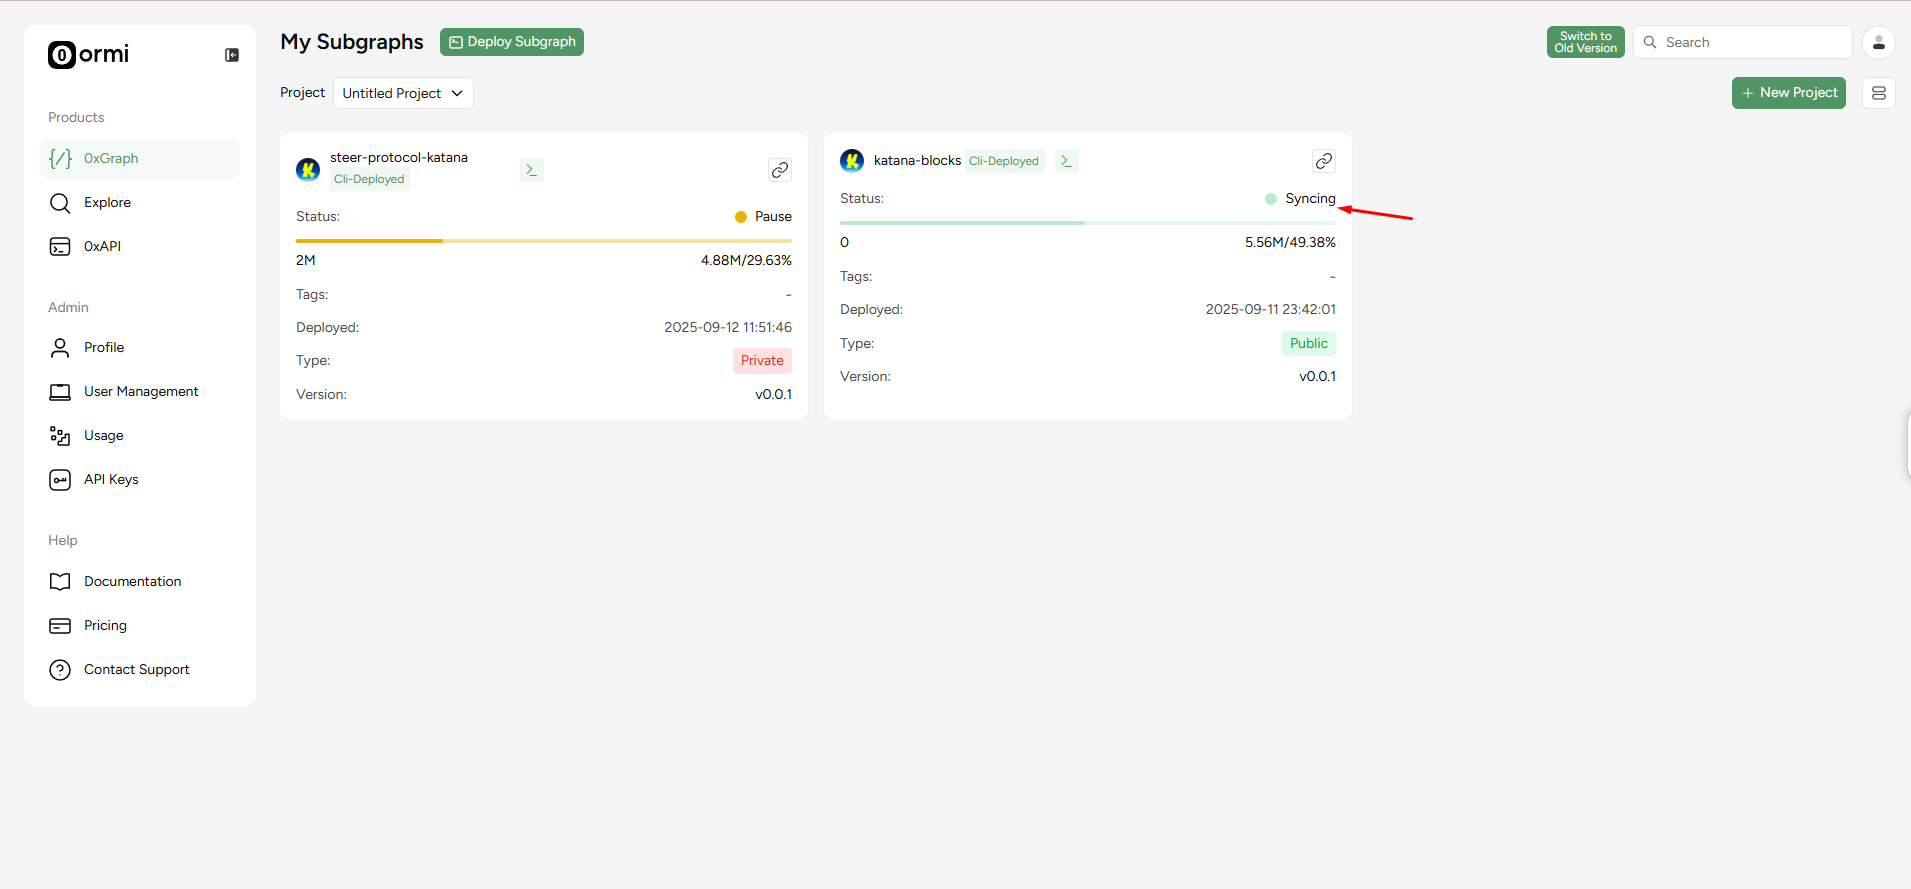
Query Katana blocks
Click on the button where the red arrow is pointing.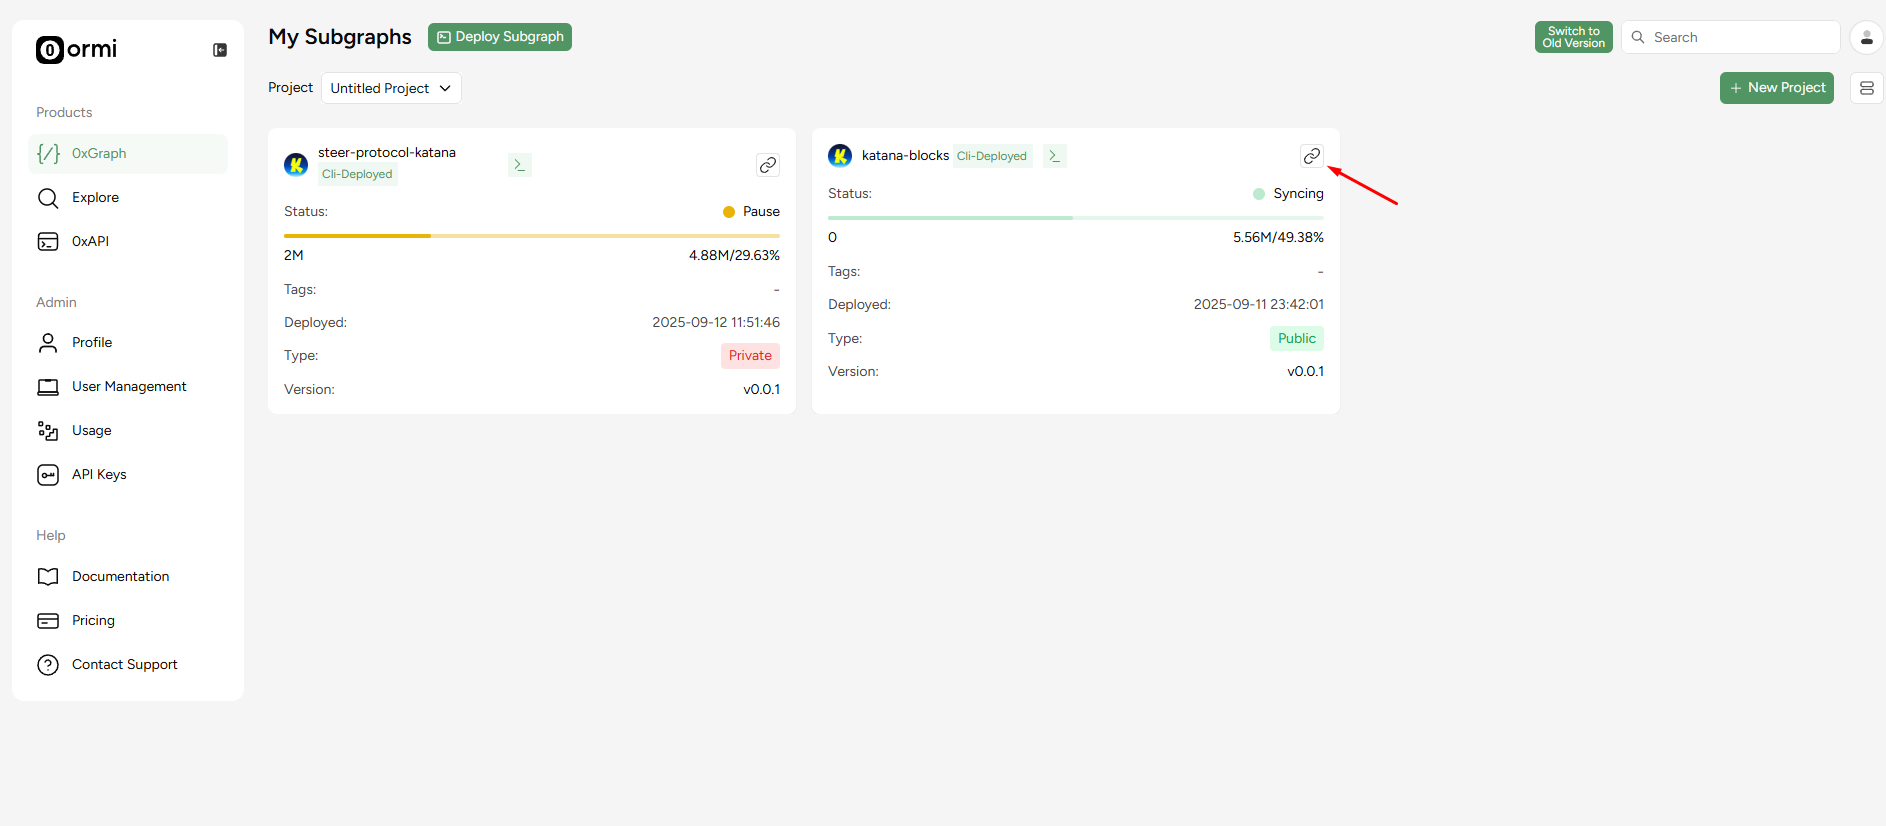
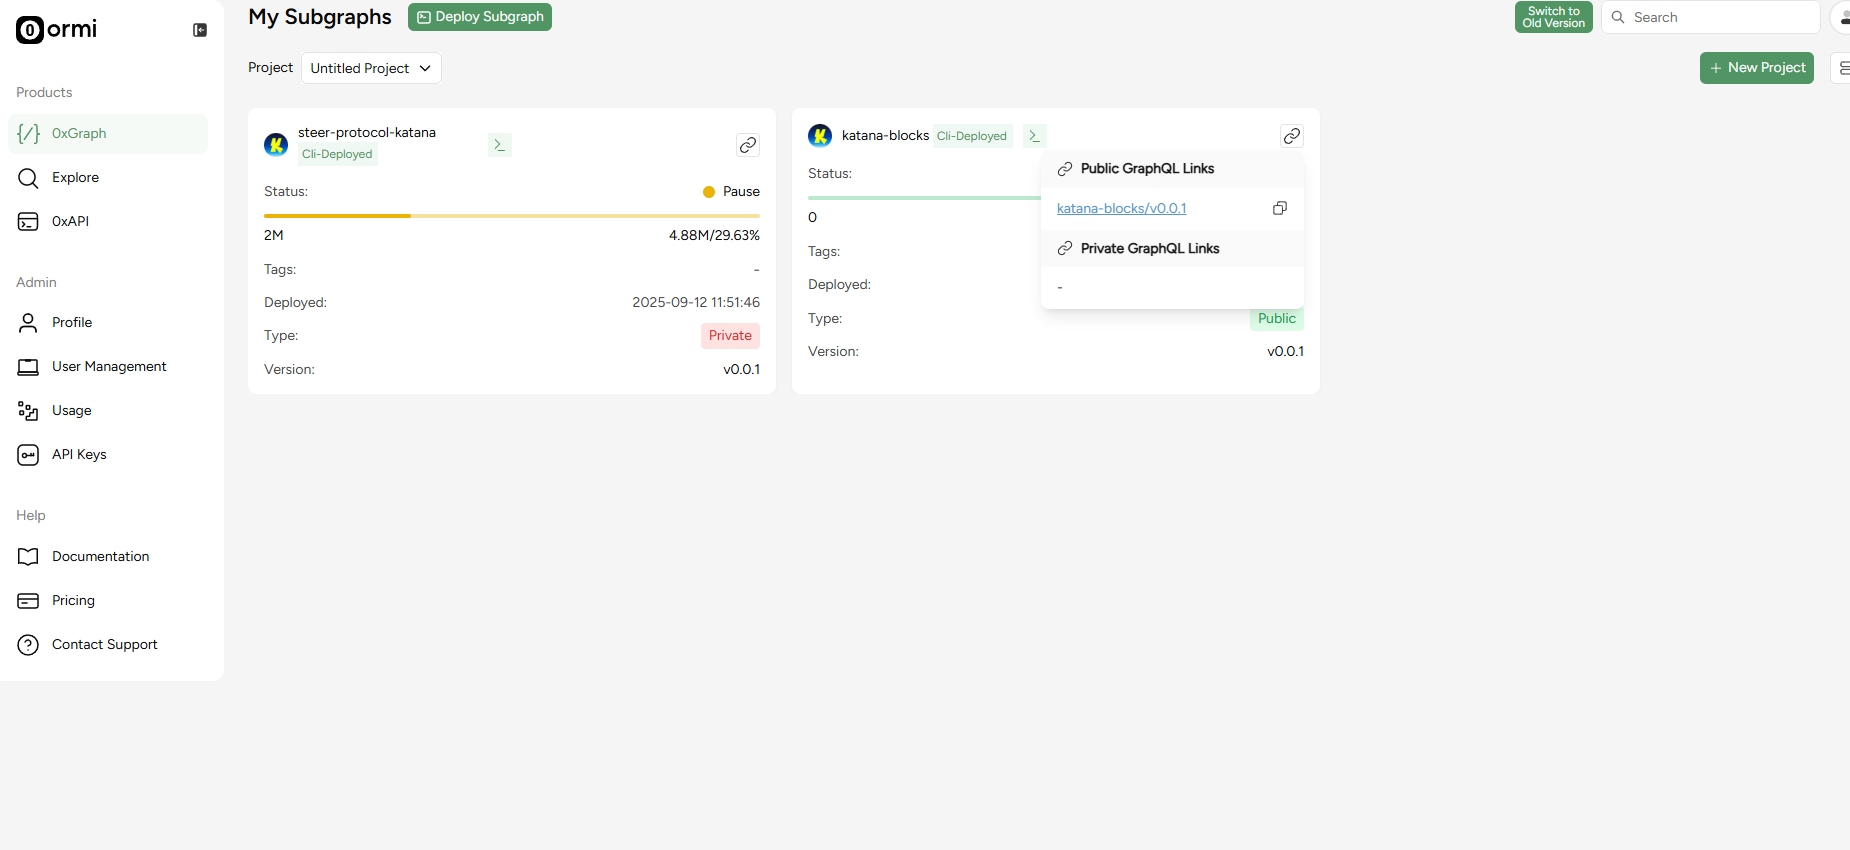
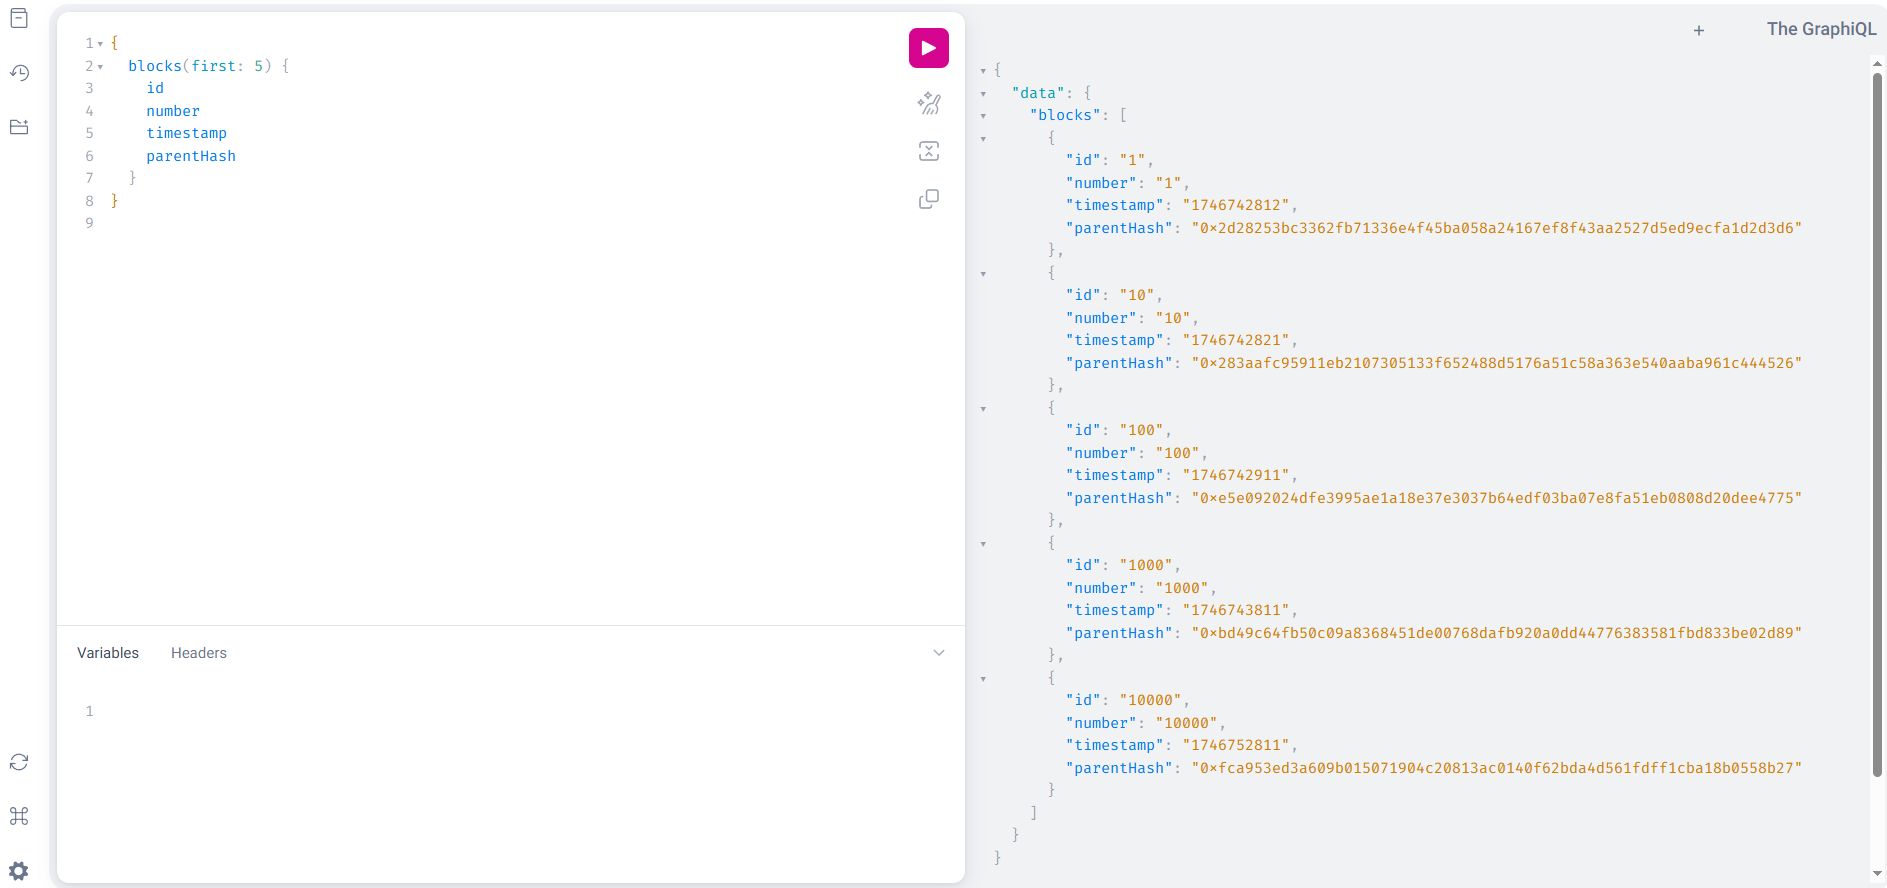
Sample query
Run this query to fetch the latest 5 blocks